How to check a SEEN installation
These checklists enable the end-user (usually the on-site health and safety manager) to check that their SEEN equipment has been correctly installed before the installer leaves site.
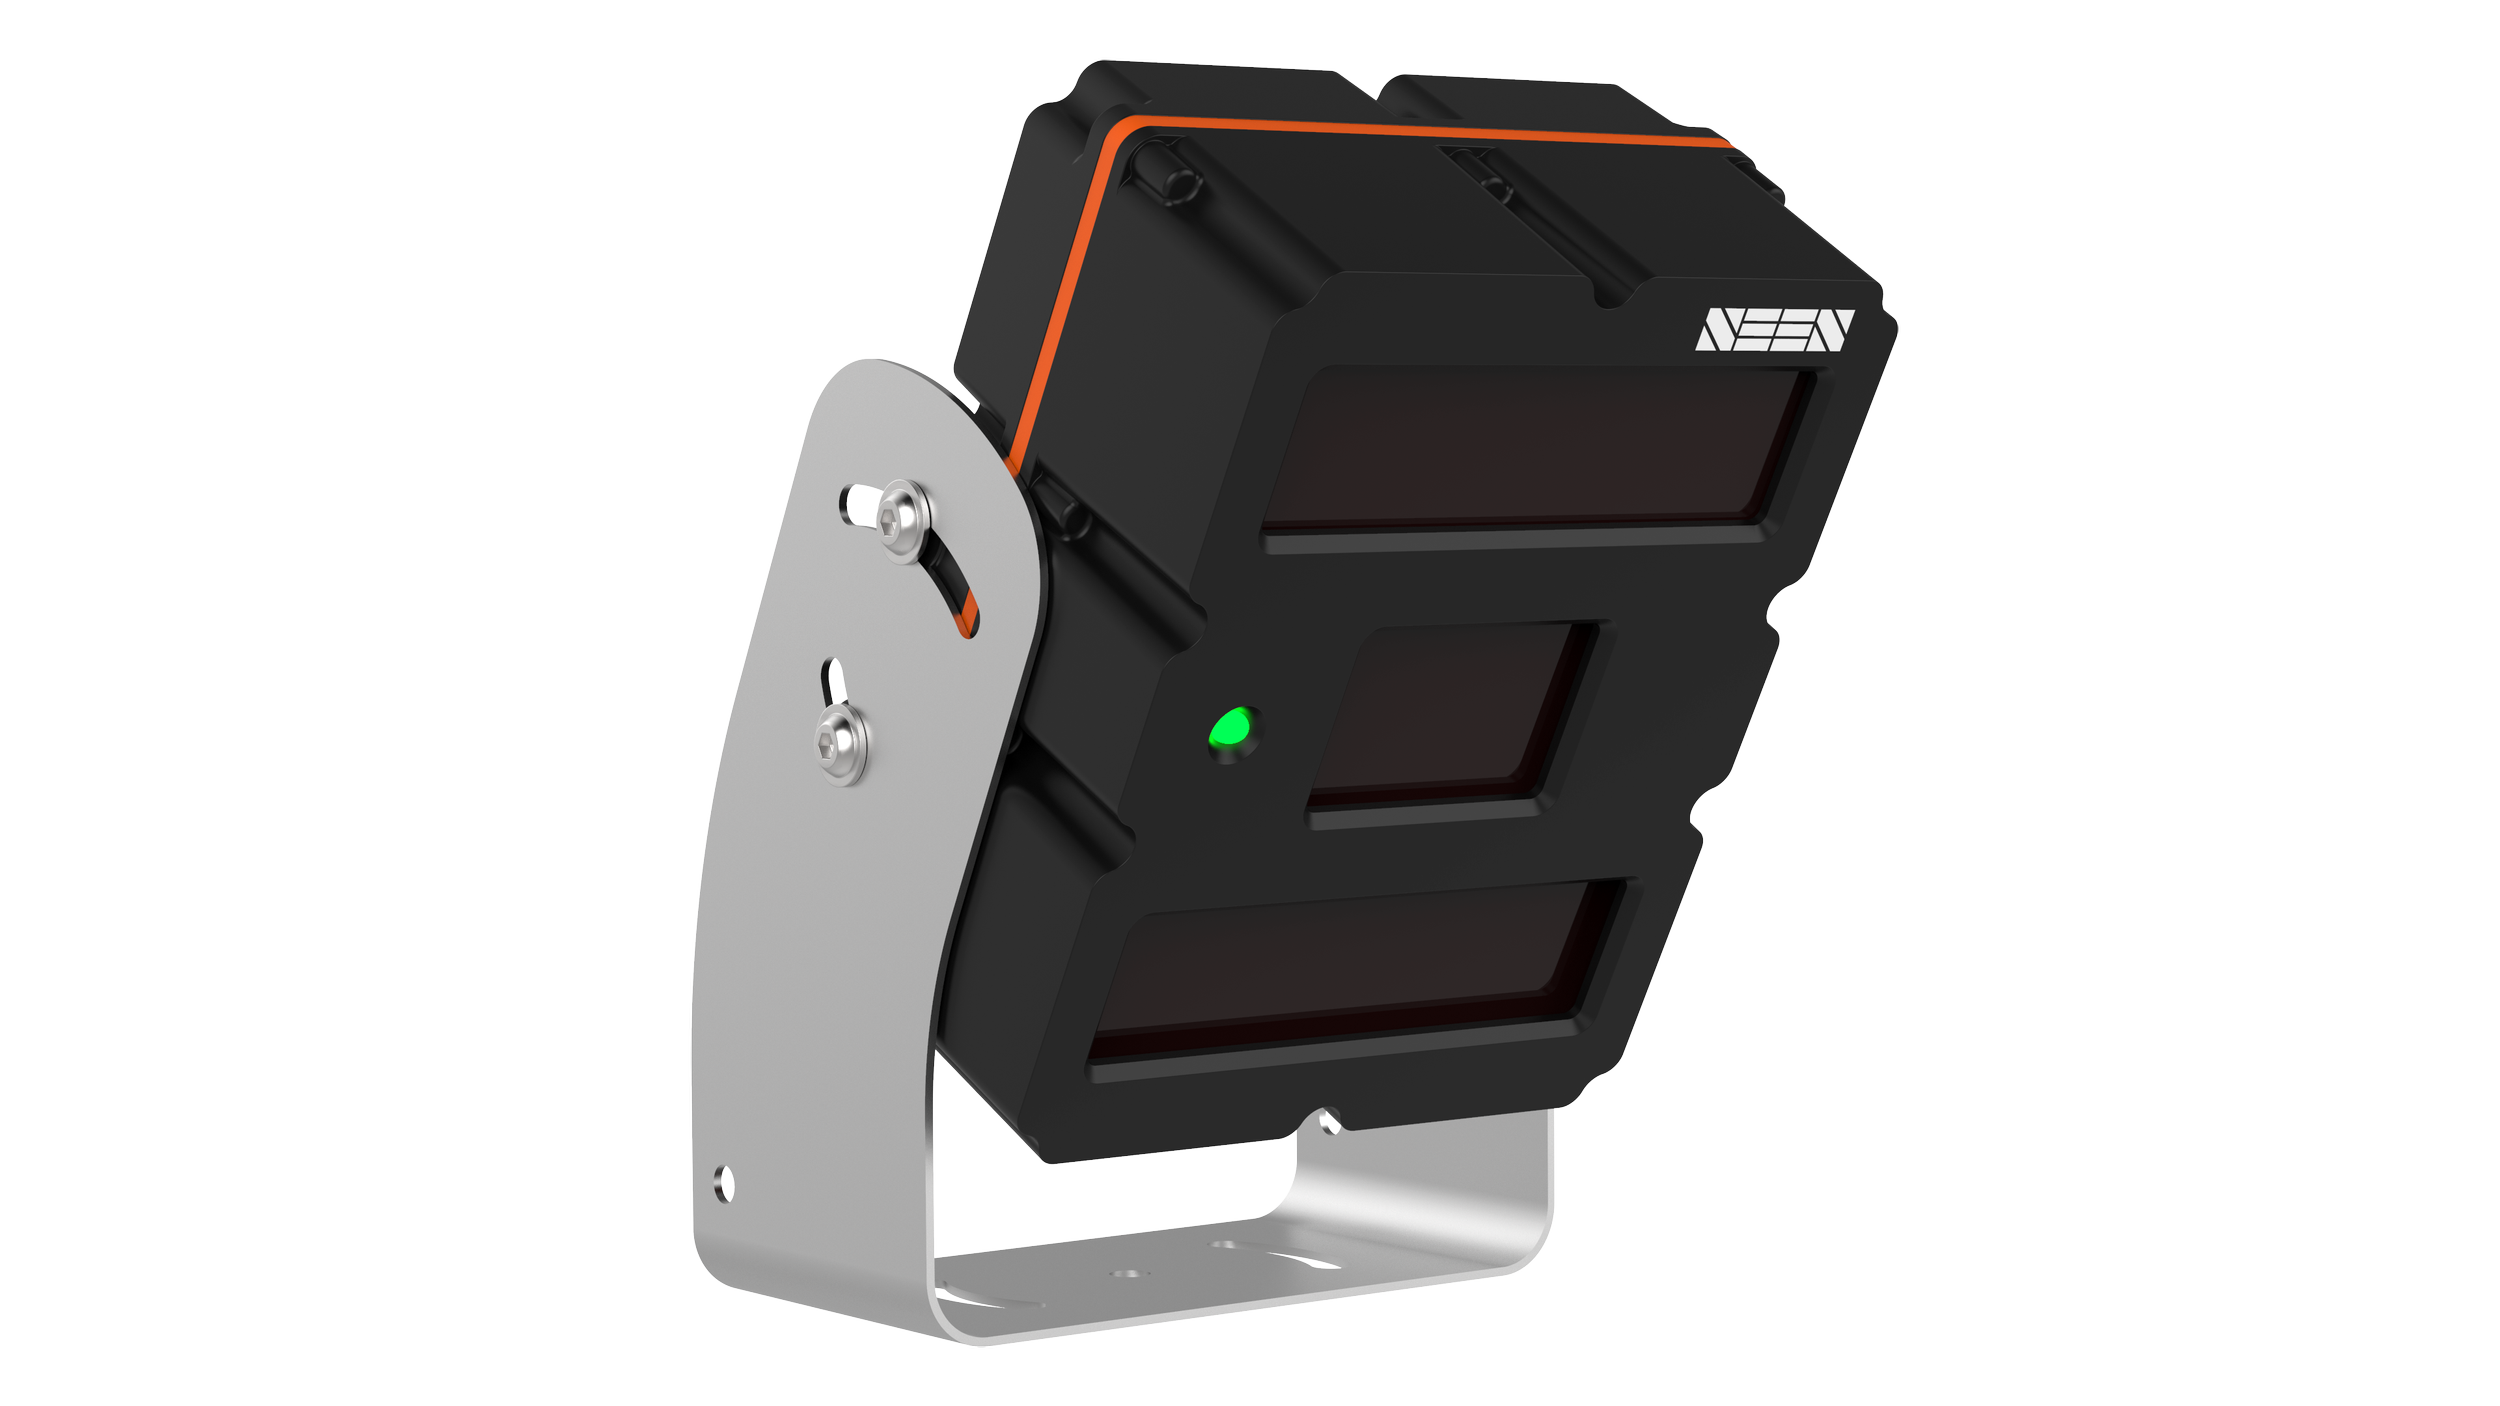
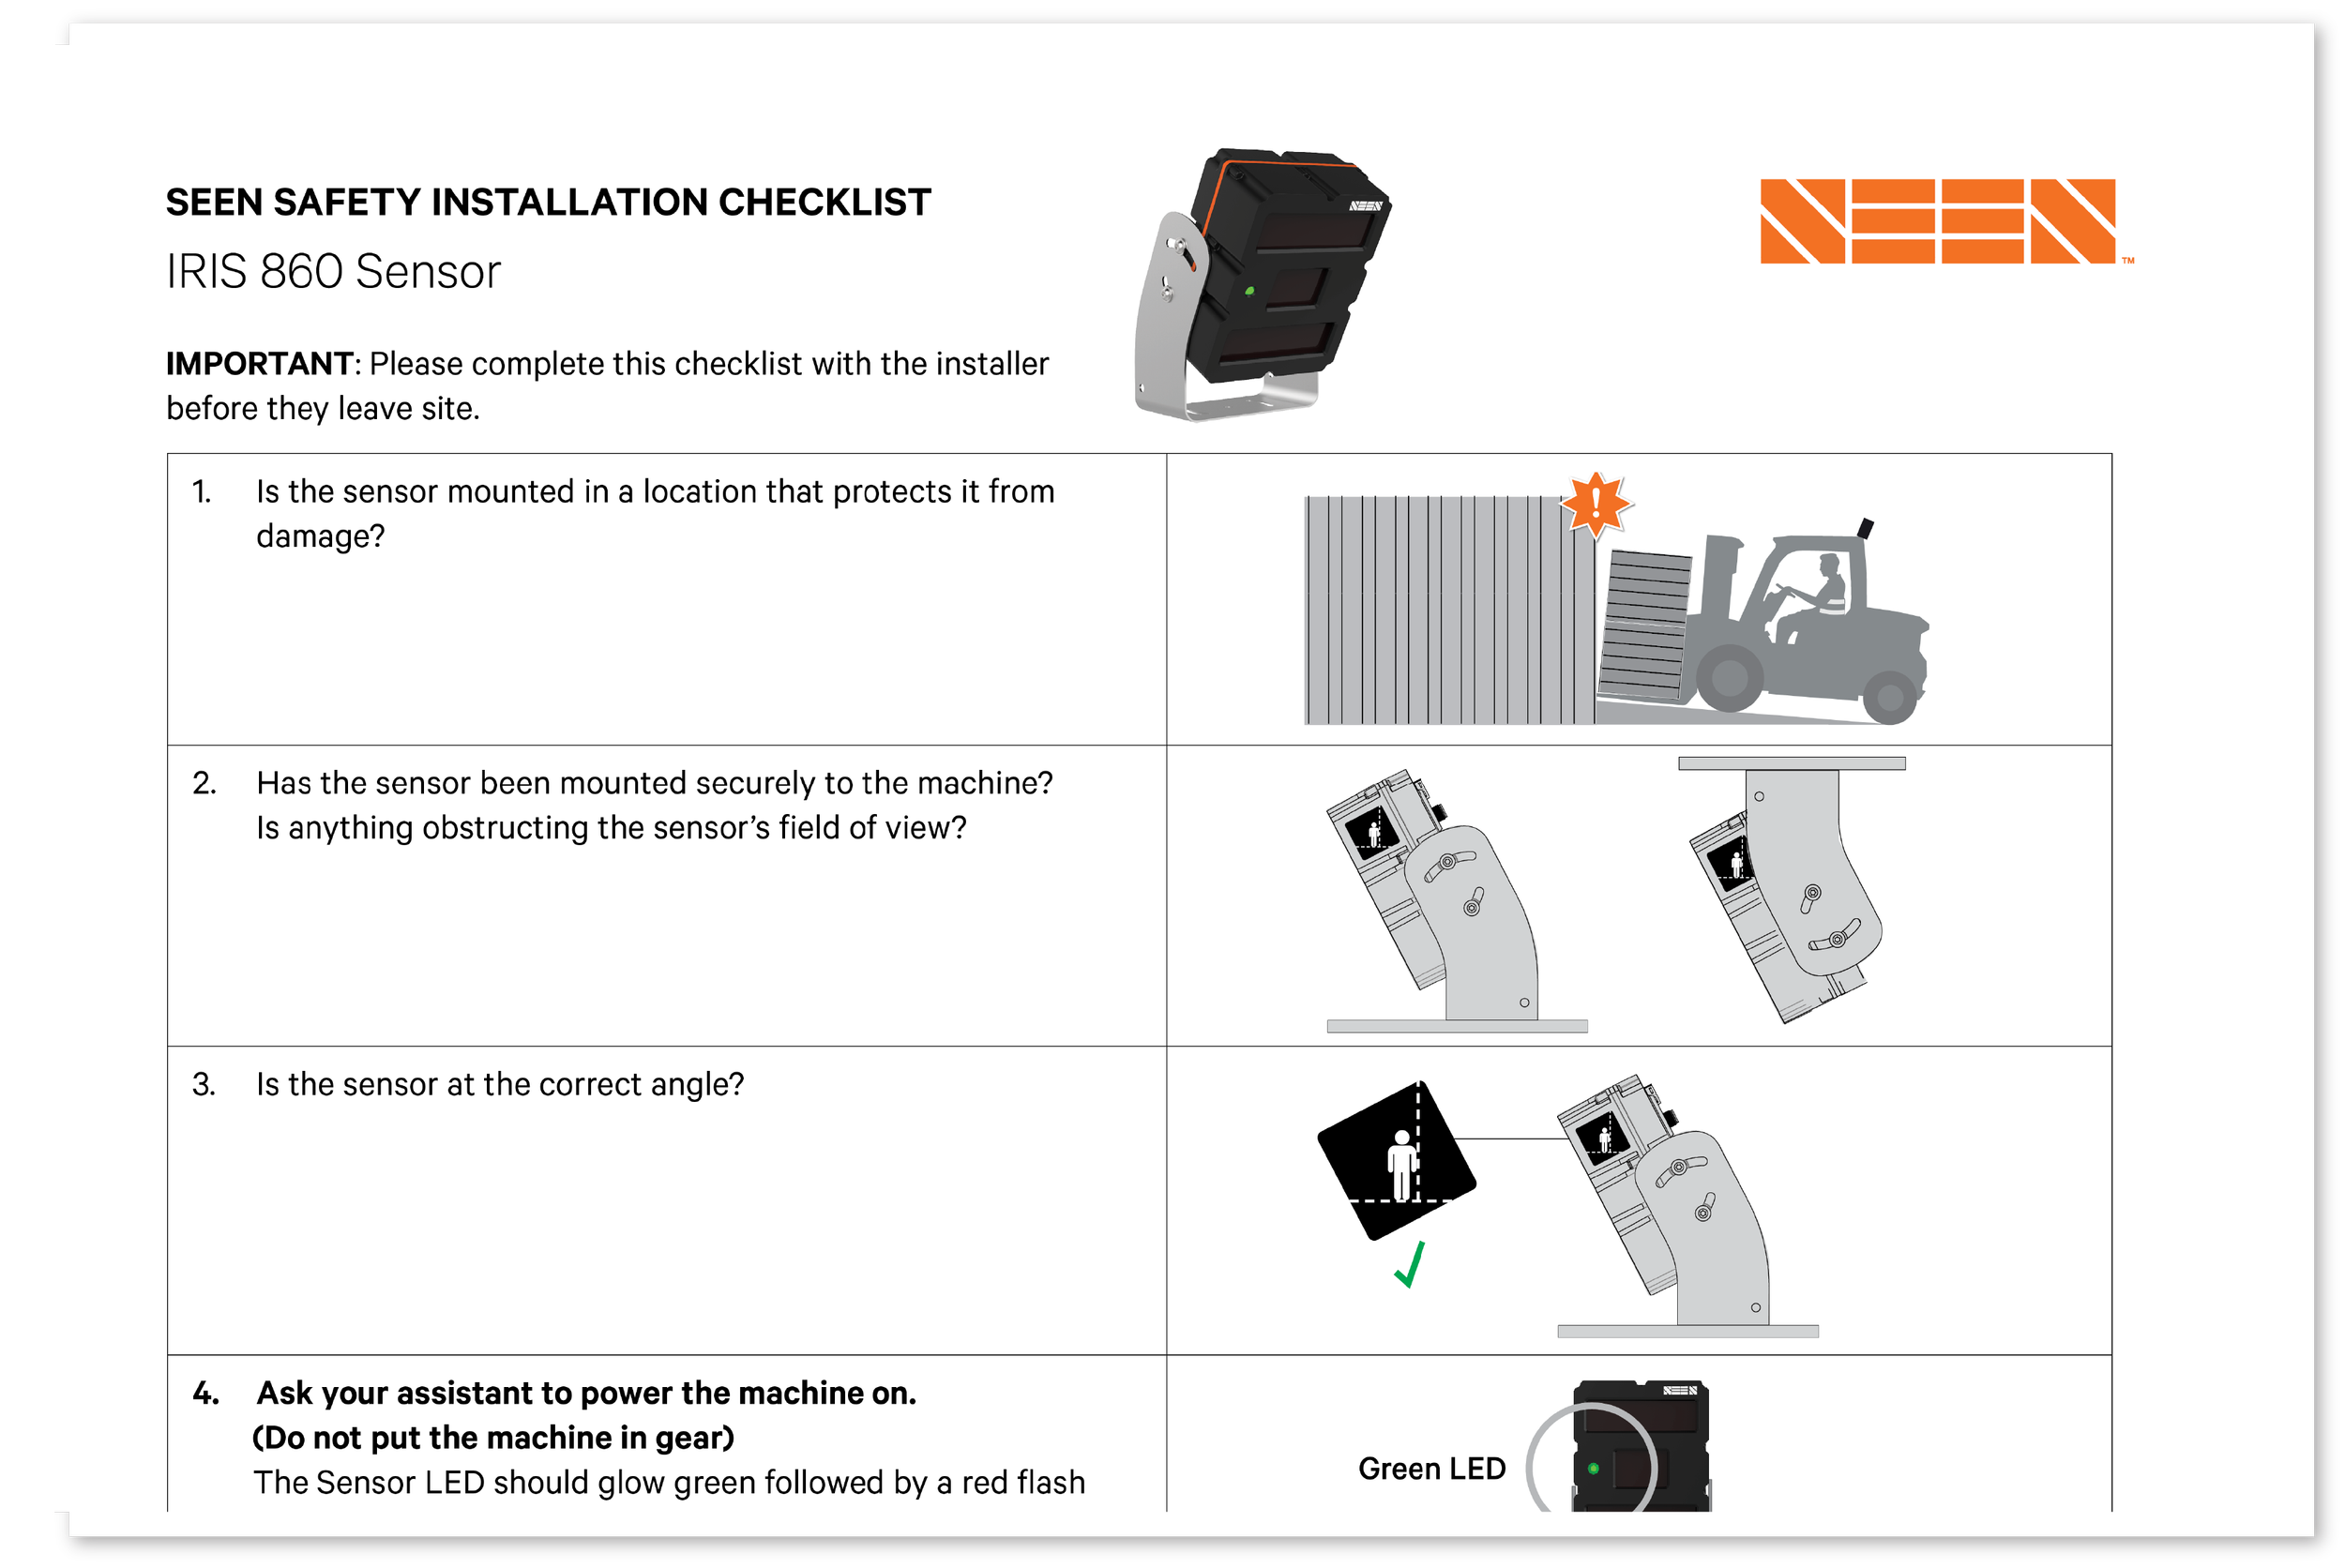
IRIS 860 Sensor Installation Checklist:
Is the sensor mounted in a location that protects it from damage?
Has the sensor been mounted securely to the machine?
Is anything obstructing the sensor’s field of view?
Is the sensor at the correct angle?
Ask your assistant to power the machine on. (Do not put the machine in gear.)
The Sensor LED should glow green followed by a red flash and short beep to indicate the sensor has booted. The LED should be steady green.
Wearing suitable retroreflective PPE, position yourself approximately 2-3 meters / 6-10ft from the face of the sensor.
The sensor should NOT alert.
While you are still behind the machine, ask the operator to engage reverse.
As soon as reverse is selected the sensor alert should sound.
Explore the sensor’s detection zone to ensure it matches your requirements.
The sensor should alert when you are within the pre-set detection zone.
Alert Volume: If the sensor’s alert is too loud for your environment, or too close to the drivers head, the volume can be reduced.
IRIS 860 Sensor + IRIS-i Camera Installation Checklist:
Is the sensor mounted in a location that protects it from damage?
Has the sensor been mounted securely to the machine?
Is anything obstructing the sensor’s field of view?
Is the sensor at the correct angle?
Are the cables connected correctly?
Has the camera antenna been installed?
It should be upright and a minimum of 10cm from the sensor.
Record the Machine ID and Camera Serial Number (for SEEN Insight setup).
Ask your assistant to power the machine on. (Do not put the machine in gear.)
IRIS 860 Sensor: LED should glow green followed by a red flash and short beep to indicate the sensor has booted. The LED should be steady green.
IRIS-i camera: LED is blue or green. LED is NOT flashing.
Wearing suitable retroreflective PPE, position yourself approximately 2-3 meters / 6-10ft from the face of the sensor.
The sensor should NOT alert.
While you are still behind the machine, ask the operator to engage reverse.
As soon as reverse is selected the sensor alert should sound.
Explore the sensor’s detection zone to ensure it matches your requirements.
The sensor should alert when you are within the pre-set detection zone.
Alert Volume: If the sensor’s alert is too loud for your environment, or too close to the drivers head, the volume can be reduced.
If there are any installation issues, refer the installer to SEEN’s resources and/or email photos of the installation (front, back and side) to support@seensafety.com describing the problem.


